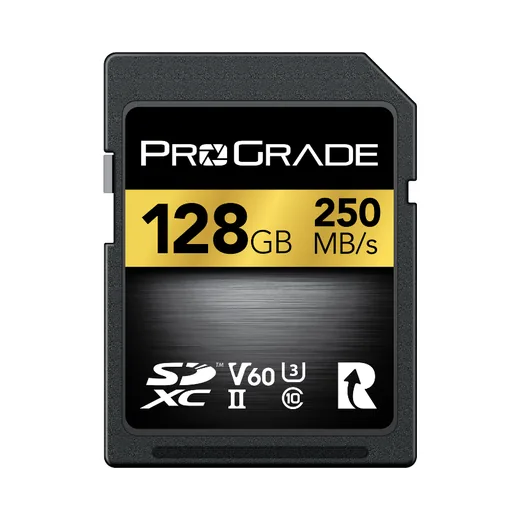
Format the card in the camera
MENU › Setup › Card/File › Card Format
Set toFormat before first use
Panasonic asks you to format in camera, and to reformat any card that was formatted on a computer. Do it before you copy LUTs across, not after.
Fifty settings on the LUMIX S9, each with the exact menu path, what to set it to and why it matters. Search for the one you need, or read the group you are stuck in.
Load the look in the LUT Library, apply it in Photo Style, and keep a clean RAW underneath. A LUT never applies to the RAW itself.
4K 60p crops to APS-C in every current format. MP4 (Lite) is the one the phone apps like, and firmware 2.1 adds 4K 60p to it.
Clips stop at 10, 15 or 20 minutes by default. Turn the limit off and the ceiling becomes temperature instead.
First camera? Work down the first two groups below in order: format the card, set the clock, check the firmware, then load a look. Everything after that is tuning.
50 settings
Do these once, in order, and the camera is ready to shoot.
MENU › Setup › Card/File › Card Format
Set toFormat before first use
Panasonic asks you to format in camera, and to reformat any card that was formatted on a computer. Do it before you copy LUTs across, not after.
MENU › Setup › Others › Clock Set
Set toYour zone, then the date
File names and the date stamp on every shot come from here. Travelling? Time Zone sits in the same menu.
MENU › Setup › Others › Firmware Version
Set toUpdate to the current version
Version 2.0 (June 2026) is the shipping release, and 2.1 is announced for 13 October 2026. The same screen runs the update from a card. Our firmware 2.1 guide has the steps.
MENU › Setup › Monitor / Display › Power Save Mode
Set toSleep Mode 2MIN or 5MIN
Sleep Mode and Auto Monitor Off both default to 1 minute, which is brisk when you are waiting for a moment. Lengthen them for a shoot, shorten them again for a long day on one battery.
MENU › Setup › IN/OUT › USB › USB Power Supply
Set toON
With the battery in and the camera on, a USB-C supply runs the camera while you record. Panasonic specifies 5V 3A (15W) and no hubs, extension cables or adaptors. The battery does not charge while it is supplying power.
Card choice, not a menu item
Set toUHS Speed Class 3 or Video Speed Class 30 and up
The 200 Mbps modes need U3 or V30; 72 Mbps and below will run on Class 10 or U1. The slot takes UHS-I and UHS-II up to 512 GB. Our SD card guide names the ones worth buying.
Where Real Time LUT lives and what it will and will not do.
MENU › Photo / Video › Image Quality › Photo Style
Set toREAL TIME LUT
The list runs Standard, Vivid, Natural, L.ClassicNeo, Flat, Landscape, Portrait, the Monochromes, Cinelike D2 and V2, Like709, V-Log, REAL TIME LUT, the two Like2100 (HLG) entries and ten My Photo Style slots. REAL TIME LUT is the one that bakes a .cube into the file.
Press LUT on the back of the camera
Set toSwitches Photo Style to REAL TIME LUT
Press it, pick a look with left and right, confirm. DISP. opens the full LUT file list, Q cancels Real Time LUT. By default the button is assigned the Fn function REAL TIME LUT.
MENU › Custom › Image Quality › LUT Library
Set toPick a slot, then Load
Put the .cube in the root folder of the card, choose an empty slot, Load, pick the file. Choosing a slot that already holds a LUT overwrites it. The same screen sorts, renames and deletes. Full walkthrough in our install guide.
MENU › Custom › Image Quality › LUT Library
Set to39 files
Panasonic ships Vlog_709 and three sample LUTs in the list, and the camera takes up to 39 files in total. Vlog_709 cannot be renamed, sorted or deleted.
LUT Library, file requirements
Set toA .cube from 2-point to 33-point, or a .vlt
The .cube support covers 2-point through 33-point 3D LUTs, and Panasonic recommends full range files. On a FAT32 card (SD and SDHC) the name can only be 8 characters before the extension; an exFAT card (SDXC) allows 255. Our looks are 33-point full range .cube files.
MENU › Photo / Video › Image Quality › Photo Style › MY PHOTO STYLE
Set toLUT1, then LUT2 on top
A My Photo Style slot takes two LUT files: the image with LUT1 applied then has LUT2 applied. The base Photo Style comes from LUT1.
Photo Style image quality adjustment › LUT Opacity
Set toStart at full, back off if it is too much
Opacity only appears in a My Photo Style slot with a LUT applied, not on the plain REAL TIME LUT style. It is the setting to reach for when a look is right but strong.
Photo › Image Quality › Picture Quality
Set toRAW+FINE keeps both
A LUT cannot be applied to a RAW file. Shoot RAW+FINE and the JPEG carries the look while the RAW stays clean; shoot RAW only and the LUT shows in live view and playback thumbnails but nothing is baked in.
Photo Style › V-Log, plus LUT View Assist
Set toPick one: baked or flat
REAL TIME LUT records the look into the file, and takes its base Photo Style from a tag inside the .cube (V-Log is assumed when there is no tag). V-Log plus LUT View Assist is the opposite: the monitor or HDMI output shows the look, the file stays flat. The camera will not do both at once.
Photo Style image quality adjustment
Set toExpect them in photos, not video
Firmware 2.0 lets a .cube carry grain, colour noise, sharpness and noise reduction values. Grain Effect and Color Noise do not apply while recording video.
MENU › Photo / Video › Image Quality › i.Dynamic Range
Set toNot available with REAL TIME LUT
The camera greys it out with Like709, V-Log, REAL TIME LUT and the Like2100 (HLG) styles, so the look you loaded decides the tone curve. On other styles, leave it OFF if you want the LUT contrast you designed for.
The stills side, from file type to metering.
MENU › Photo › Image Quality › Picture Quality
Set toRAW+FINE
FINE, STD., RAW+FINE, RAW+STD. and RAW. RAW+FINE gives you the finished JPEG with the look baked in and a 12-bit RAW underneath. Deleting one of the pair deletes both.
MENU › Photo › Image Quality › Aspect Ratio / Picture Size
Set to3:2 and L (24M, 6000x4000)
Ratios run 4:3, 3:2, 16:9, 1:1, 65:24 and 2:1. RAW is always recorded at L size in 3:2 whatever you pick, so the ratio crops the JPEG.
MENU › Photo › Image Quality › ISO Sensitivity (photo)
Set toUpper limit 6400 to 12800
Auto tops out at 6400 by default. The upper limit can be set from 200 to 51200 and the lower from 100 to 25600. With REAL TIME LUT the usable range follows the base Photo Style of the LUT, and V-Log based looks start at ISO 640.
MENU › Photo › Image Quality › Min. Shutter Speed
Set to1/125 for people, 1/250 for movement
Only applies when ISO is on AUTO, and sets the point at which the camera raises ISO rather than slowing the shutter further. Options run from AUTO through 1/8000 to 1.
MENU › Photo / Video › Image Quality › Metering Mode
Set toMulti-metering, or Highlight-weighted in hard light
Multi, Centre-weighted, Spot and Highlight-weighted. Highlight-weighted protects the brightest part of the frame, which suits stage light and hard sun on skin.
Exposure compensation button, then either dial
Set toUp to plus or minus 5 EV
Stills get plus or minus 5 EV in 1/3 steps, video plus or minus 3 EV. Past 3 EV the preview stops getting brighter or darker even though the file does. The value survives a power cycle unless you turn on Exposure Comp. Reset.
Press WB (right cursor), then either dial
Set toAWB, or a Kelvin value for a mixed room
AWB, AWBc (cuts the warmth of tungsten) and AWBw (keeps it), the four presets, four custom slots and four colour temperature slots from 2500K to 10000K. Press down on the WB screen for the amber, blue, green and magenta fine tune.
Drive mode button (down cursor) › Burst
Set toSH for a moment, H for a sequence
SH and SH PRE run 30 frames a second and buffer 36 frames, including RAW; SH PRE also keeps what happened just before the full press. H is 9 fps with AFS or MF and 8 fps with AFC, then 5 and 2 fps. SH fixes aperture and will not go below 1/30.
MENU › Photo › Image Quality › Synchro Scan (Photo)
Set toUse it under LED and fluorescent light
The S9 has no mechanical shutter, so artificial light can leave stripes across a frame. Synchro Scan tunes the shutter speed in fine steps until the banding disappears. There is no photo equivalent of Flicker Decrease, so this is the tool.
What the S9 calls its focus modes, and what to set them to.
MENU › Photo / Video › Focus › Focus Mode
Set toAFS for stills, AFC for anything moving
The S9 offers AFS, AFC and MF. There is no AFF on this body. AFC drops back to AFS in Creative Video, S&Q, during recording and in low light.
AF mode button (left cursor)
Set to1-Area for control, Tracking for movement
Tracking, Full Area AF, Zone (Horizontal/Vertical), Zone, 1-Area+, 1-Area and Pinpoint. Pinpoint is not available with AFC, and the camera forces 1-Area in the 65:24 and 2:1 ratios.
MENU › Photo / Video › Focus › AF Detection Setting and Detecting Subject
Set toON, with the type you shoot
Types are human, animal, car, motorcycle, and since firmware 1.1 also train and aeroplane. Target Parts narrows it further: eye, face and body, or eye and face, for people. Detection works in every AF mode except Pinpoint.
MENU › Photo › Focus › AF Custom Setting (Photo)
Set toSet 1 unless you have a reason
Four presets with AF sensitivity and related controls, available when Focus Mode is AFC. DISP. explains each one on screen. The S9 is good on predictable movement and less sure when speed and direction change, so give it the simplest setting that fits the subject.
MENU › Photo › Focus › Focus Peaking
Set toON for manual lenses
Peaking outlines what is sharp, which matters on a camera with no viewfinder. AF+MF under Custom › Focus/Shutter lets you tweak focus by ring after the camera locks.
File formats, crops, record limits and the heat ceiling.
MENU › Video › Image Format › Rec. File Format
Set toMP4 (Lite) for phone edits, MOV for grading
MP4 (Lite) is 10-bit 4:2:0 HEVC built for phone apps, MP4 is for playback on a computer, MOV is the one with 4:2:2 10-bit and the 200 Mbps modes. There is no All-Intra, no ProRes and no internal RAW.
MENU › Video › Image Format › Rec. Quality, in Creative Video mode
Set to5952x3968 3:2 at 30p, 200 Mbps
Open gate, 5.9K and 6K 17:9 are MOV, full frame, and only in Creative Video mode. Shoot open gate when you want one file to cut both wide and vertical.
MENU › Video › Image Format › Image Area of Video
Set toFULL at 30p, APS-C at 60p
4K and C4K at 60p, 50p and 48p are APS-C or pixel-to-pixel only; at 30p and below you get the full frame. Plan the lens around it: a 20mm at APS-C frames like a 30mm.
Announced for 13 October 2026
Set toMP4 (Lite) gains 4K 60p and FHD 120p
Today MP4 (Lite) is one quality: 3.8K 10-bit 50 Mbps at 30p. Version 2.1 adds 4K 60p and 50p plus FHD 120p, 100p, 60p and 50p to that format, at 50 Mbps. Panasonic has not said whether the new 4K 60p is cropped.
MENU › Video › Others (Video) › Video Record Limit
Set toON handheld, OFF on a tripod
With the limit ON a clip stops at 10 minutes in 6K and 5.9K, 15 minutes in 4K, C4K, 3.8K and 3.3K, and 20 minutes in FHD. With it OFF there is no software limit, but the body gets hot: Panasonic warns about low temperature burns handheld, and DPReview overheated it after 13 minutes of recording in 31C sun.
MENU › Photo / Video › Image Quality › Photo Style › V-Log
Set toBuilt in, no licence to buy
Panasonic claims 14 or more stops of latitude in V-Log, with 18% grey at 42 IRE. ISO starts at 640 and the dual native points are 640 and 4000. Use it when you intend to grade; use REAL TIME LUT when you do not.
MENU › Video › Image Quality › Flicker Decrease (Video) or Synchro Scan (Video)
Set toFix the shutter speed under artificial light
Same electronic shutter, same stripes. Panasonic's own fix is to lock shutter speed, either with Flicker Decrease or by fine tuning with Synchro Scan in Creative Video or S&Q mode.
MENU › Video › Others (Video) › Image Stabilizer
Set toE-Stabilization STANDARD, HIGH if it still floats
E-Stabilization (Video) adds electronic correction on top of the sensor shift system and narrows the angle of view, more so on HIGH, with some loss of resolution. Boost I.S. (Video) locks the frame for static shots and should be off before you move the camera.
Creative Video › High Frame Rate Video, or S&Q mode
Set toFHD 120p with sound, or S&Q up to 180 fps
High Frame Rate Video records FHD 119.88p or 100p in MOV with audio. S&Q runs 1 to 180 fps at FHD, crops above 150 fps, and records no sound.
MENU › Video › Image Format › Segmented File Recording
Set toON for interviews and events
MOV only. The camera splits the recording every 1, 3, 5 or 10 minutes into a grouped set, so a flat battery or a yanked cable costs you one segment instead of the whole take.
MENU › Video › Audio, and the 3.5mm MIC socket
Set toMic input with plug-in power or line in
There is a 3.5mm microphone input and no headphone socket, so you monitor levels on screen. The shoe on top is a cold shoe with no contacts: a mic, a light or a monitor mounts there, a flash does not fire from it.
Put the things you change often under a thumb.
MENU › Custom › Operation › Fn Button Set › Setting in REC mode
Set toPut LUT, ISO and WB where your thumb lands
Defaults worth knowing: LUT is REAL TIME LUT, AF ON is AF-ON, Q is Q.MENU, Fn1 Level Gauge, Fn2 Preview, Fn3 Wi-Fi, Fn4 Histogram, Fn5 Boost I.S. (Video), and the cursor keys are ISO, white balance, drive mode and AF mode. Hold any Fn button for two seconds to jump straight to its list.
MENU › Custom › Lens / Others › Lens Fn Button Setting
Set toAperture or LUT select
Firmware 2.0 added LUT Select to the focus ring options, so you can change look without taking your eye off the frame. Firmware 2.1 expands what the lens Fn button can do.
MENU › Setup › Setting › Save to Custom Mode
Set toOne slot for stills, one for video
Set the camera up once, save it, and the mode dial brings the whole state back. Custom Mode Settings controls whether changes stick or reset when you power off.
MENU › Setup › Setting › Save/Restore Camera Setting
Set toSave to card after you finish setting up
Writes your settings to the card so you can restore them after a reset, or copy them to a second body. Worth doing the day you finish a setup like this one.
Getting files and LUTs on and off the camera.
MENU › Setup › IN/OUT › Bluetooth › Bluetooth Function › ON
Set toPair once, in LUMIX Lab
Pairing is Bluetooth first, then the app brings up Wi-Fi when it needs the bandwidth. Up to 16 phones can be registered, one connected at a time, and LUMIX Lab and LUMIX Sync cannot be connected together.
LUMIX Lab or LUMIX Sync
Set toLab for LUTs and transfers, Sync for remote control
Panasonic splits them: Lab handles the LUT Library and image transfer, Sync handles remote recording and transfer. Firmware 2.0 added a wired USB connection for Lab, selected under Setup › IN/OUT › USB › USB Mode › LUMIX Lab. Our LUMIX Lab guide covers it.
Bluetooth › Auto Transfer, or Send Image (Smartphone)
Set toKeep clips you want on your phone in MP4
MOV files cannot be sent to the phone at all, and nothing over 4 GB transfers. Auto Transfer only moves stills and MP4 (Lite). Transfer also slows as the camera heats up.
USB, with Panasonic's software
Set toNo plug and play webcam mode
The S9 has no UVC webcam mode: USB Mode offers Select on connection, PC (Storage), PC (Tether) and LUMIX Lab. Panasonic's LUMIX Webcam Software (Beta) supports the S9 on Windows 10 and 11 and macOS 12 and 13, but not macOS 14 or later. On a newer Mac, HDMI out to a capture device is the route.
Nothing matches that. Try a shorter word, like lut, iso or heat.
Amazon affiliate links. As an Amazon Associate, LumiLUTs earns from qualifying purchases, at no extra cost to you.
Handles every S9 video mode today with room to spare.
Check price on AmazonCopies the firmware file across, then offloads 4K 60p fast.
Check price on AmazonUpdate on a full battery, and keep a spare for long video days.
See options on AmazonWhich card does your LUMIX need? See the SD card guide and the S9 starter kit.

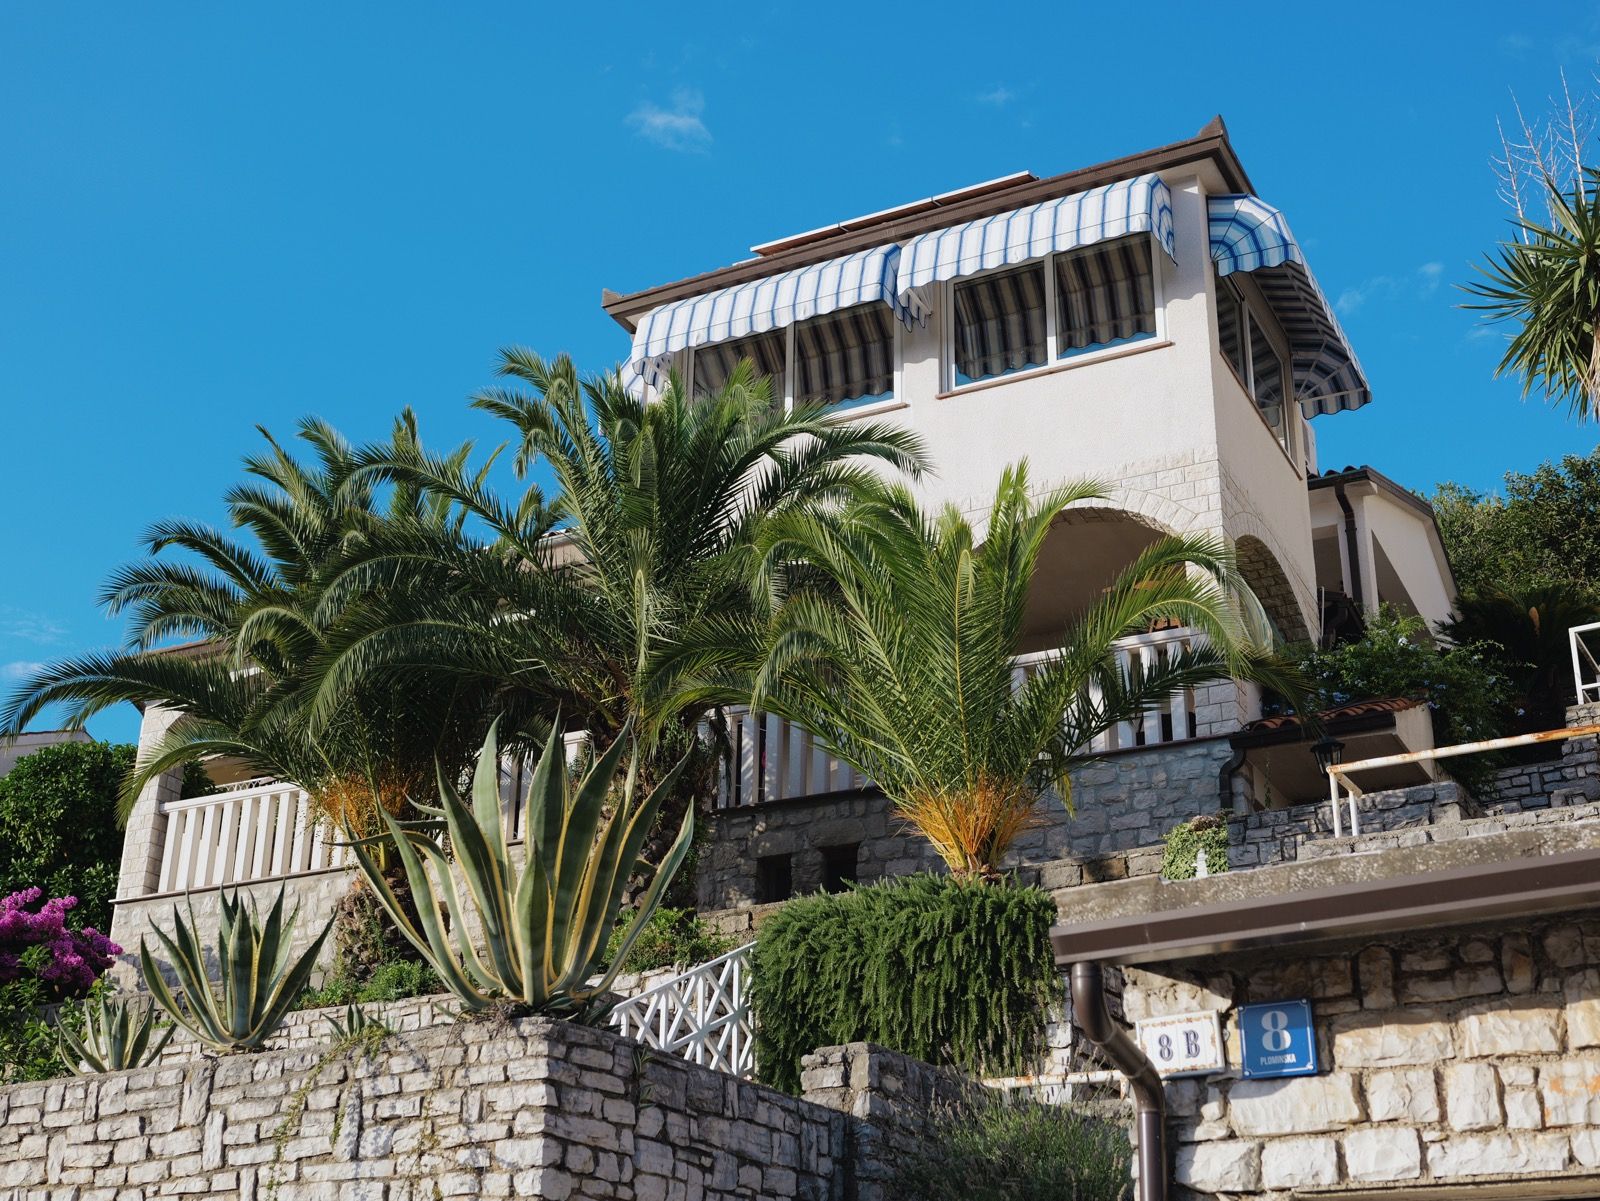
Our Kodak Portra 400 rendering: warm, forgiving skin tones and gentle contrast that holds together in almost any light.
A 33-point .cube plus the illustrated install guide. Instant download, yours forever, personal and commercial use.
For film-look JPEGs: Photo Style set to REAL TIME LUT with your look loaded, Picture Quality on RAW+FINE, Auto ISO capped around 6400, Min. Shutter Speed at 1/125, AFS with subject detection on, and the LUT button left on its default. For video, MOV at 4K 30p keeps the full frame, while 4K 60p crops to APS-C.
MENU, then Custom, then Image Quality, then LUT Library. Save the .cube in the root folder of the card, pick a slot, choose Load, and select the file. It is a different place from the Photo Style menu, which is where you then apply the look.
Thirty-nine files. Panasonic preloads Vlog_709 and three sample LUTs, and Vlog_709 cannot be renamed, sorted or deleted.
Yes, in MOV and MP4, but only with an APS-C or pixel-to-pixel crop. Full frame tops out at 30p in 4K. Firmware 2.1, due 13 October 2026, adds 4K 60p to the lighter MP4 (Lite) format as well, at 50 Mbps.
By default Video Record Limit is on, which stops a clip at 10 minutes in 6K, 15 minutes in 4K and 20 minutes in Full HD. Turn it off for unlimited clips and the camera records until it gets too hot instead. DPReview overheated an S9 after 13 minutes of recording in 31C sun, while in a cool room it filled a card with 87 minutes of 4K.
No. A LUT is baked into JPEGs only. If you shoot RAW only, the look shows in live view and in playback thumbnails but is not saved. Shoot RAW+FINE to get the graded JPEG and a clean RAW together.
Not by plugging it in. The S9 has no UVC webcam mode. Panasonic's LUMIX Webcam Software (Beta) supports it on Windows 10 and 11 and on macOS 12 and 13, but not macOS 14 or later, so on a current Mac you need an HDMI capture device.
The S9 has an electronic shutter only, so some artificial light leaves banding. Use Synchro Scan (Photo) to fine tune the shutter speed until the stripes disappear, or Flicker Decrease (Video) and Synchro Scan (Video) when recording.
Sources: Panasonic DC-S9 operating instructions, Panasonic S9 firmware history, DPReview's S9 in-depth review, Cameralabs and Amateur Photographer. Menu names are Panasonic's own. Firmware 2.1 details come from Panasonic's announcement and are marked as announced until release day.
Dial in the stills side with the best S9 photo settings, load a film look with LUTs for the LUMIX S9, follow the install guide if a LUT will not load, or check what firmware 2.1 changes on 13 October. Still kitting out? See the best small lenses, the best SD cards and the S9 starter kit.