Recipe or LUT: which should you use?
They reach the same destination, a finished look in-camera, by different routes. Here is the honest comparison.
| Photo Style recipe | Real Time LUT | |
|---|---|---|
| Cost | Free | Paid (from $9) |
| Setup | Dial about eight settings by hand | Load the .cube once, then one tap |
| Consistency | Approximate, shifts with lighting | Exact and repeatable |
| Video | Works, but colour can drift | Holds the look across clips |
| Sharing / moving | Re-enter the values on each body | File loads on any Real Time LUT body |
| Best for | Tinkering and learning colour | A consistent finished look, fast |
The LUMIX settings that make a recipe
Every recipe is built from the same handful of Photo Style controls. Learn what each one does to a film look and you can build or adjust any recipe.
Your starting point. Standard is neutral and flexible; other styles bake in their own contrast and colour before you begin.
The biggest lever for mood. Warm toward amber for golden film, cool toward blue for a modern look, and nudge green or magenta to match a stock's cast.
Lower it and lift shadows for a faded, filmic roll-off; raise it for punch. Most film looks sit softer than the default.
Shape the tone curve directly. Pulling highlights down and lifting shadows is the classic faded-film move.
Film usually pulls saturation back a touch rather than boosting it. Small hue shifts steer skin tones and skies.
Adds film texture. Low or Standard reads natural; High leans vintage. This is what stops a look feeling digital.
Ease it off. Film is not clinically sharp, and softening sharpness helps the whole frame feel more organic.
Keep it modest so it does not smear the grain you just added or plasticise skin.
How to build a film look in six steps
- Pick a base. Start from Standard, then open My Photo Style Settings to edit it.
- Set white balance and shift. Warm or cool the frame and add or remove green and magenta to set the mood.
- Shape contrast. Lower it and lift shadows for faded film, or raise it for punch. Use highlight and shadow for finer control.
- Tune colour. Pull saturation back slightly, nudge hue to steer skin and skies.
- Add grain, soften sharpness. A little grain and less sharpness is what sells the film feel.
- Save to My Photo Style. Store it in a slot, write the values down, and you have a recipe you can recall or share.
Starting points for seven film looks
Directional guidance for the looks people ask about most. These point you the right way; the exact, repeatable version of each is available as a one-tap LUT.
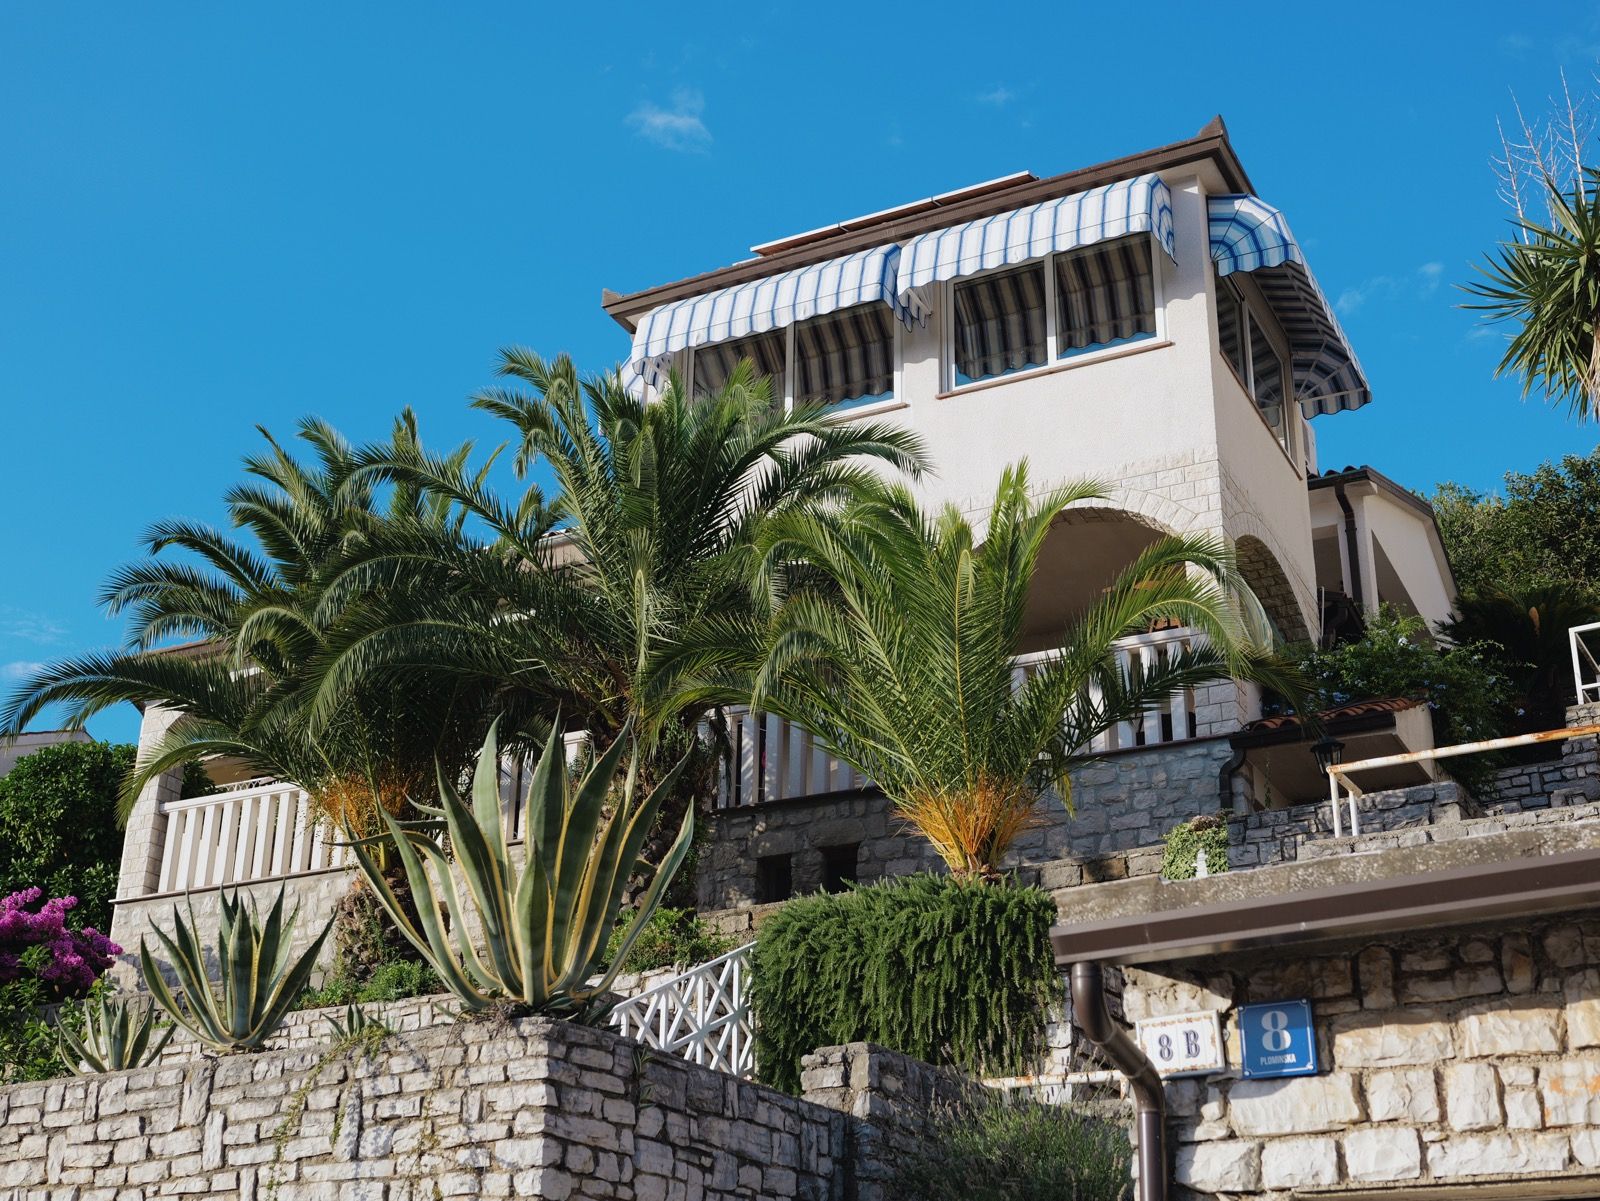
Warm, soft portrait
Warm the white balance a touch, pull contrast and saturation back, keep skin gentle.
Get the exact LUT →
Honeyed golden hour
Push warmth further, lift shadows, let midtones glow amber, keep contrast gentle.
Get the exact LUT →
Cool, clean greens
Keep white balance neutral to a touch cool, hold saturation natural, keep greens clean.
Get the exact LUT →
Sunlit and clean
Warm the light a touch, keep contrast natural, let blues stay deep and colour clean.
Get the exact LUT →
Deep, punchy colour
Raise contrast, deepen blues and reds, keep skin in check.
Get the exact LUT →
Calm, glowing skin
Cool and green-lean the balance a touch, soften contrast, keep skin bright and smooth.
Get the exact LUT →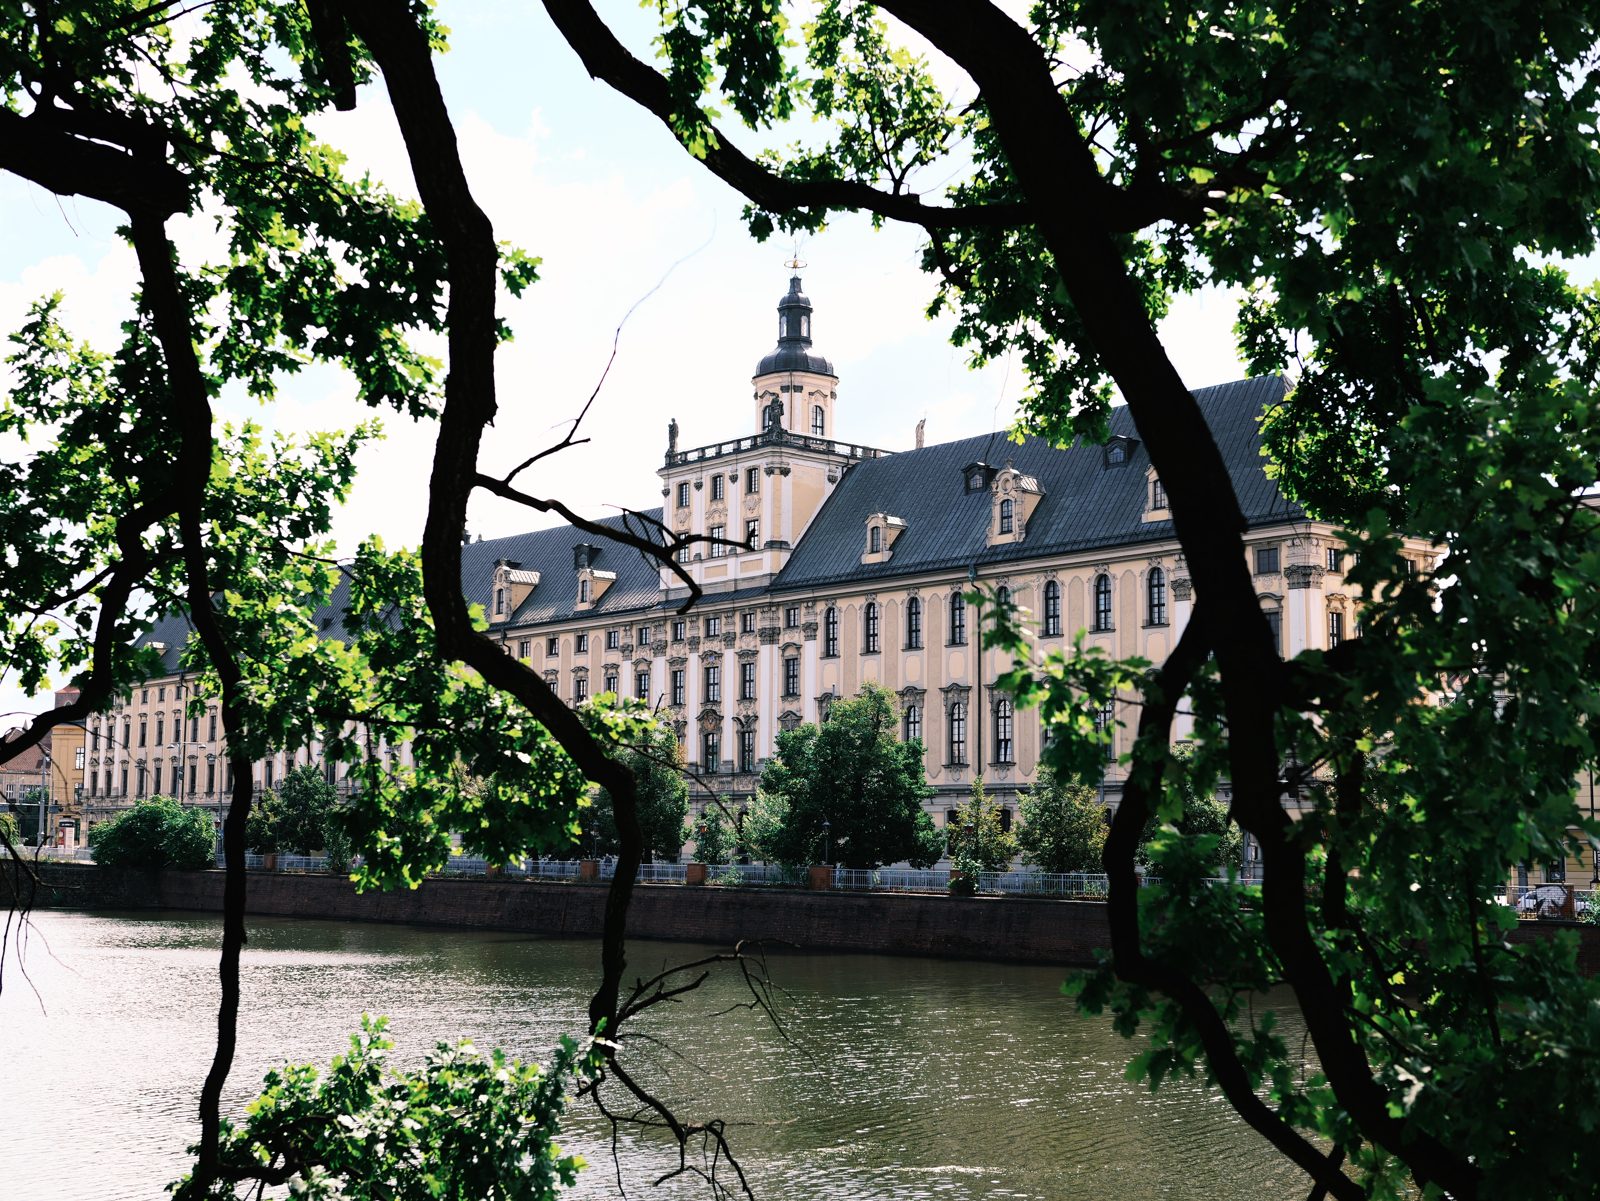
Muted, moody negative
Pull saturation and contrast back, cool the shadows toward teal, keep highlights warm.
Get the exact LUT →Skip the dialing
Each look above is available as a one-tap Real Time LUT, graded and consistent, from $9.
Recipes on the S9 and S5II
Photo Style recipes work on any recent LUMIX, and every Real Time LUT body can also load a LUT for the exact look. If you shoot the S9 or the S5II, you can build a recipe by hand or load a .cube in under a minute (see the install guide). New to any of this? Start with what a Real Time LUT is, or compare your options in the best LUMIX LUTs roundup. The looks built for each body are on our LUMIX S9 LUTs and LUMIX S5II LUTs pages.
LUMIX recipe FAQ
What is a LUMIX Photo Style recipe?
A saved set of in-camera Photo Style settings (contrast, highlight and shadow, saturation, white-balance shift and grain) that together mimic a film look. It is the LUMIX equivalent of a Fujifilm film simulation recipe, and it is free to build.
Are LUMIX recipes or LUTs better?
Recipes are free and good for learning, but they are approximate and drift with lighting, and you re-enter them by hand. A Real Time LUT is a single .cube that loads once, applies with one tap, stays consistent, and works for video. Recipes suit tinkerers; LUTs suit anyone who wants a consistent finished look fast.
Do LUMIX cameras have film simulations like Fujifilm?
Not by name, but you get the same result two ways: build a Photo Style recipe by hand, or load a Real Time LUT that bakes a film look into the JPEG as you shoot. Both live in the camera and need no editing.
Can I save a recipe on a LUMIX?
Yes. Save your adjusted settings to a My Photo Style slot to recall the look instantly, and write the values down so you can rebuild or share the recipe later.
Do LUMIX recipes work for video?
Photo Style settings apply to video as well as stills, but for consistent colour across clips most video shooters prefer a Real Time LUT, which holds the exact look regardless of lighting changes.